Turning Showers Inside-Out
An outdoor copper shower can make a great addition for the summer months
As the weather gets warmer, it's time to start prepping your house for the pool parties and BBQs that accompany the welcomed summer months. While you may think you have every backyard addition that makes your home the ultimate summer destination, there is one renovation that is quick, easy, inexpensive and will separate your house from the others on the block - an outdoor shower.
Whether you get your hands dirty from gardening, want to rinse off the chlorine from floating in the pool all day, or need to spray down the dog after a day of rolling around in the grass, an outdoor shower is practical and can make a unique home addition.
 Outdoor Copper Shower
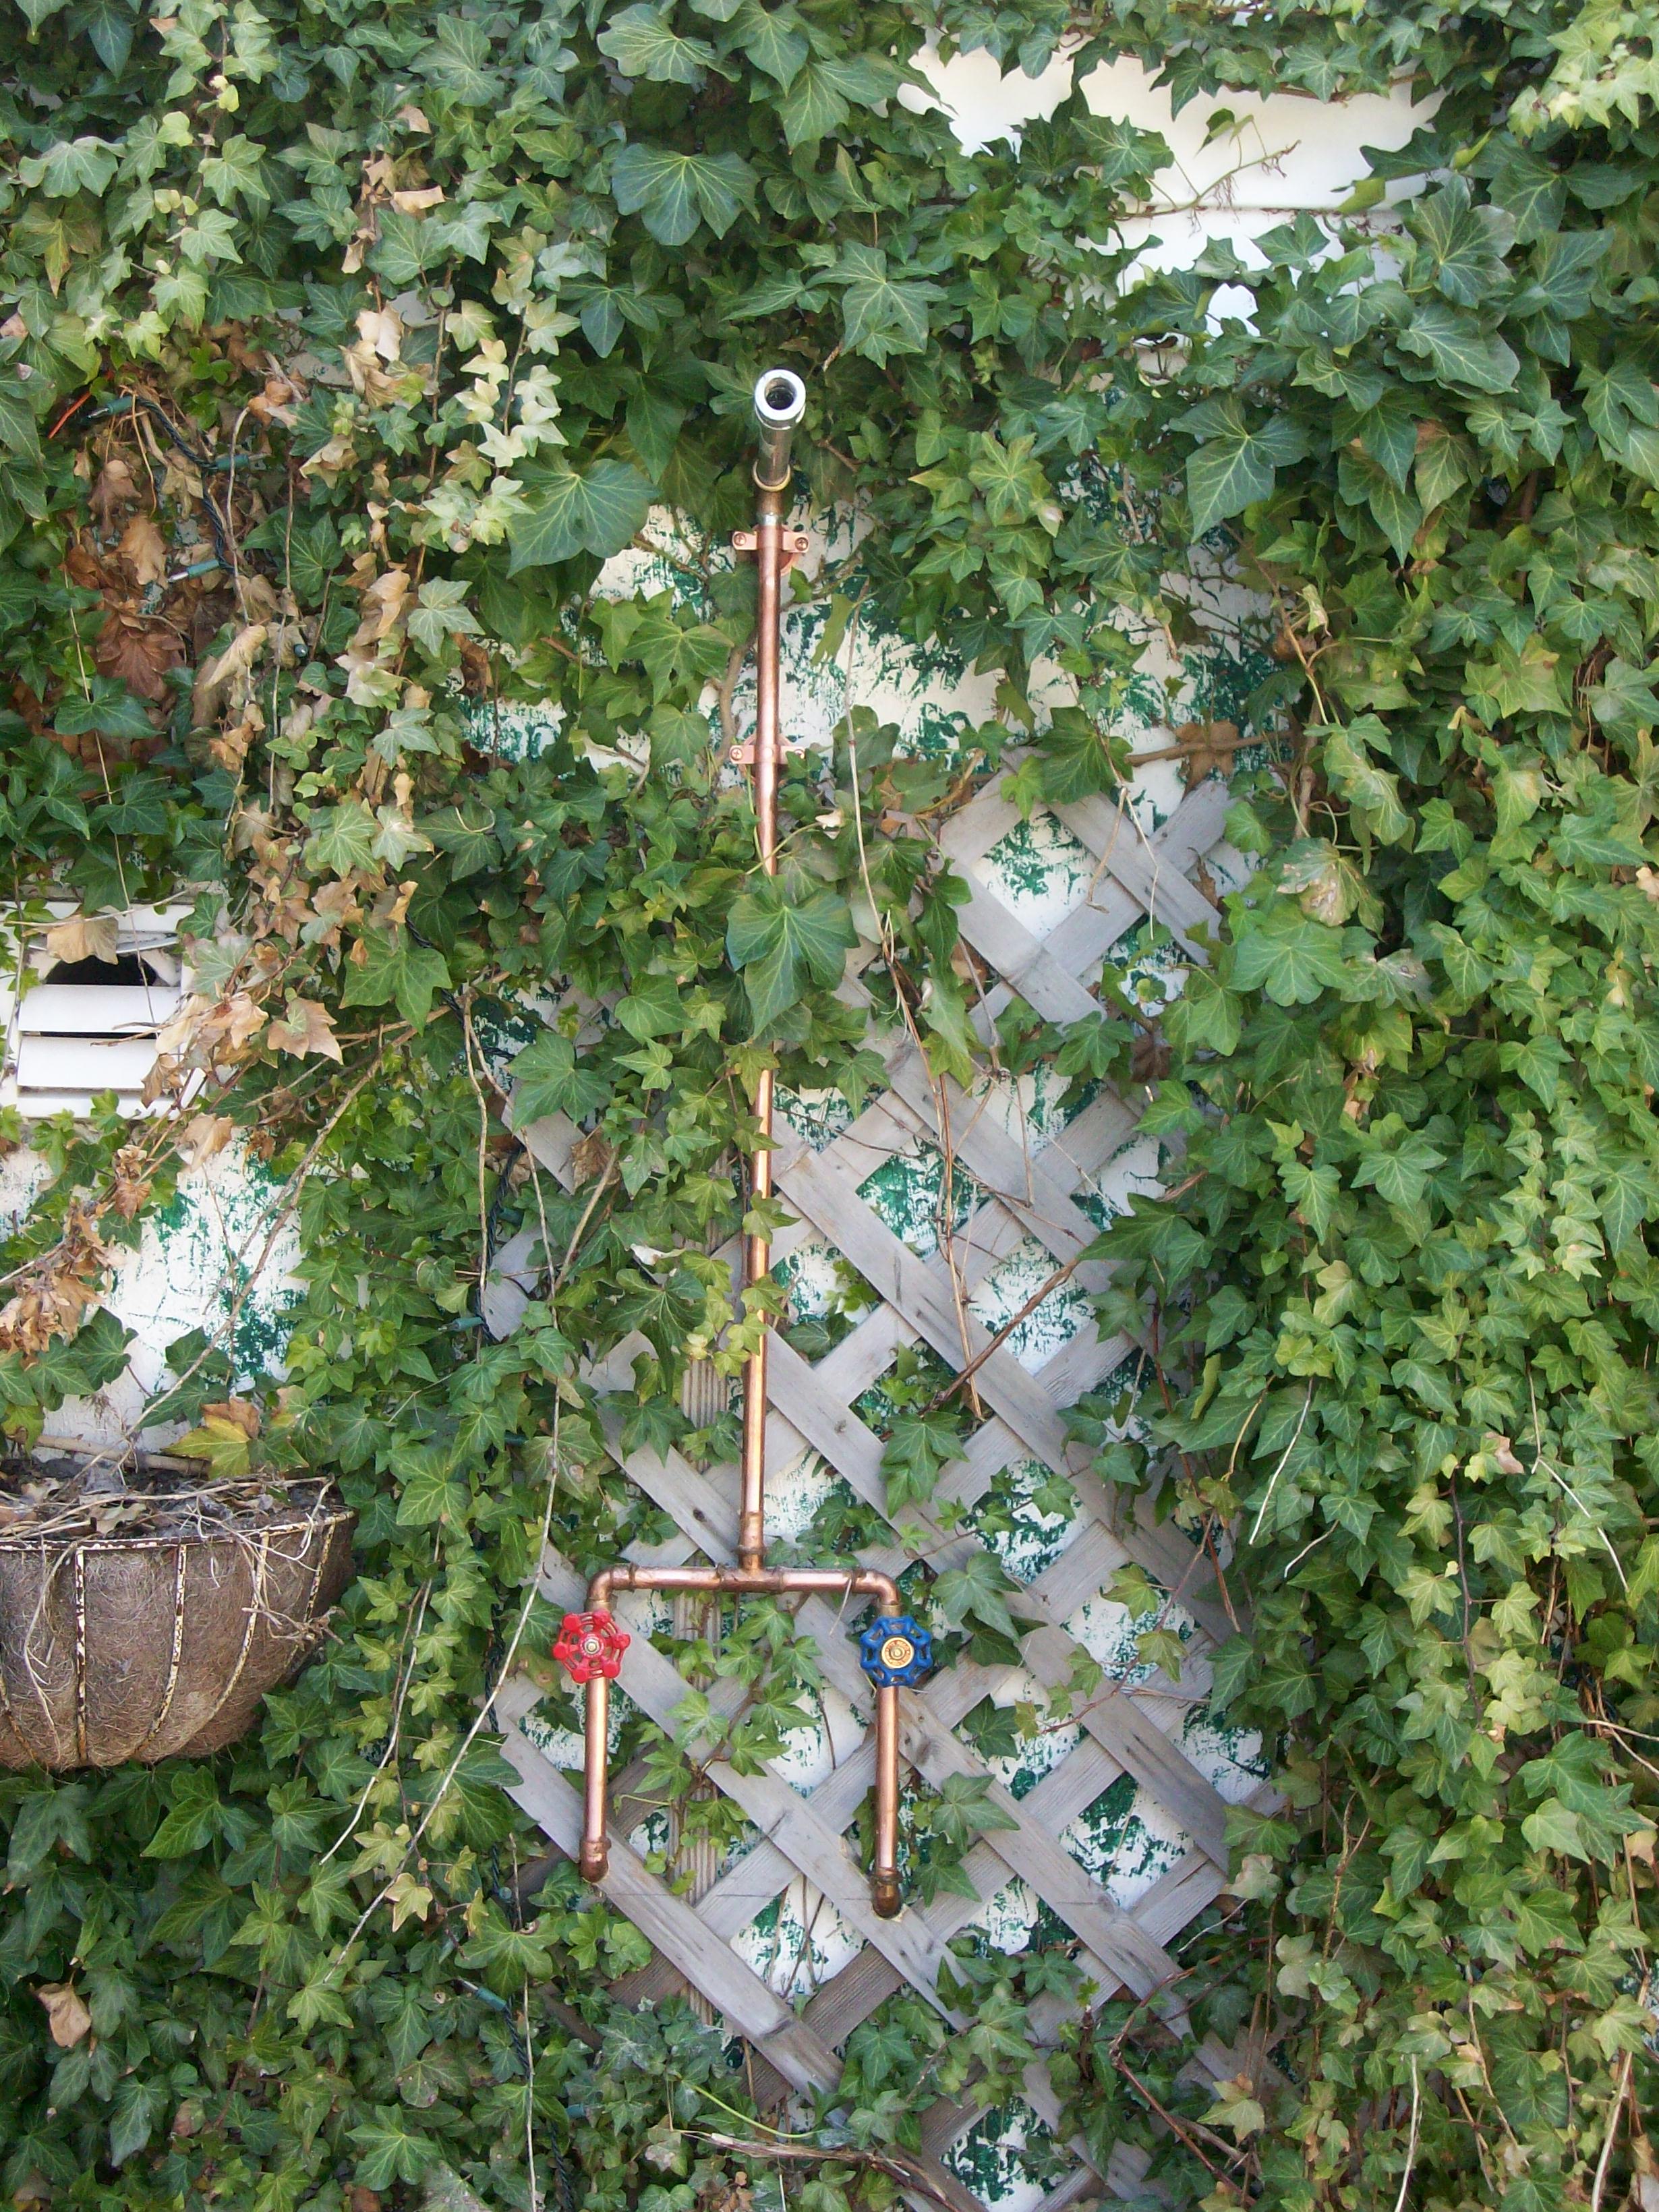
While it may seem like a complicated project, if you have the time and are handy around the house, follow these quick and simple steps to install a copper shower on your next free Saturday afternoon:
Step 1: Get the proper tools and material for the project
Copper tubing is a good choice for an outdoor shower. It's a durable option that is easy to work with, with an incomparable look and style. When using copper, you'll need tubing cutters and a propane or other handheld torch, flux and solder for soldering the joints for the shower.
Step 2: Locate the outside wall that is the shortest route to your home's water supply
Before you start working, be sure to turn off the water. After the water is shut off, you can cut into the pipes and put a T-fitting in to run your hot and cold water. You'll also want to put in shut-off valves with a bleeder drain. The bleeder drain allows you to bleed out the pipes at the end of the season so they don't freeze in cold weather.
Step 3: Drill through the wall
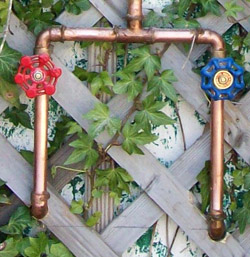
Drill through the outside wall where you want to install your shower. A hammerdrill can be used for the drilling if the wall is cement, and a regular drill bit can be used for going through wood. With the two holes drilled, run the copper tube through the holes and vertically to two valves to can control the hot and cold water on the outside wall. From the two valves, run the two separate pipes up to 90-degree elbows to form a manifold (as shown in the picture).
Step 4: Join the two valves
Now that you have two valves set up on the outside wall, join the two separate lines with a T-fitting, so you can run pipe vertically up to the shower head. Some quick soldering will do the job. Make sure that all pipes and fittings are clean before you begin to solder and use an appropriate amount of flux. This will prevent any problems with leaks when the shower is ready to go.
Step 5: Run the pipe to the shower head
Once the two lines are connected in the T-fitting, run a pipe vertically up the wall. You can use bell clamps to fasten the pipe to the wall securely.
Step 6: Attach the shower head and grab a towel
Once your pipe is run, you're ready to install the shower head. Once the shower head is on, turn the water back on and let the shower rip.
"It's great to see copper being used in so many creative renovations and detail for the outside of the house," said Copper Development Association (CDA) vice president, Bob Weed. "Copper's unique characteristics and advantages make it ideal for inside and outside renovations."
With the copper shower in place and ready to go, the only problem you'll have will be finding more things to do outside that will require you to rinse off. Cu